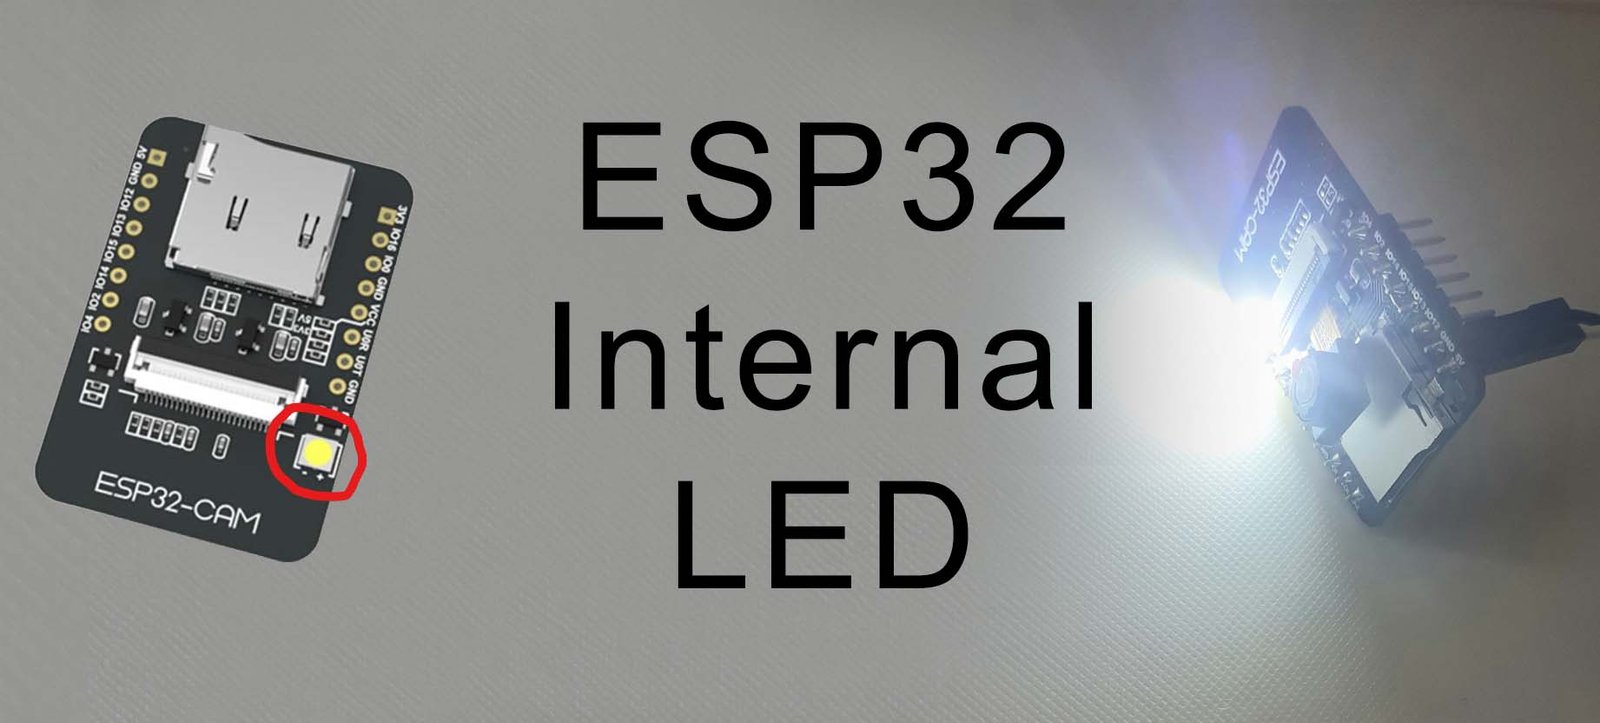
ESP32 Blinking the Internal LED
Introduction
The ESP32 microcontroller, renowned for its versatility and power, opens a world of possibilities for hobbyists and professionals alike. In this tutorial, we'll delve into the very basics of programming the ESP32 using the Arduino IDE. Our first project? Blinking the internal LED!

Prerequisites
• ESP32 board added to the Arduino IDE
• USB cable to connect the ESP32 to your computer
Writing the Code
Let's get straight to the code. Open your Arduino IDE and follow these steps:
Step 1: Create a New Sketch
- Launch the Arduino IDE on your computer.
- Go to File > New to create a new sketch.
Step 2: Write the Blinking LED Code
Now, let's write the code to blink the internal LED of the ESP32.
const int LED_PIN = 4; // Built-in LED on pin 2 of ESP32

void setup() {
  pinMode(LED_PIN, OUTPUT); // sets the digital pin as output
}

void loop() {
  digitalWrite(LED_PIN, HIGH); // Turn on LED
  delay(1000); // Wait for 1 second

  digitalWrite(LED_PIN, LOW); // Turn off LED
  delay(1000); // Wait for 1 second
}
Step 3: Selecting the Board and Port
- Go to Tools > Board.
- Select your ESP32 board. For example, ESP32 Dev Module.
- Go to Tools > Port and select the port to which your ESP32 is connected.
Step 4: Uploading the Code
- Connect your ESP32 board to your computer via USB.
- Click on the right arrow icon (Upload) in the Arduino IDE to compile and upload the code to your ESP32.
Step 5: See the Magic!
Once the upload is complete, the internal LED of your ESP32 should start blinking on and off at one-second intervals.
Conclusion
Congratulations! You've successfully programmed your ESP32 to blink its internal LED. This simple project is the first step into the vast world of ESP32 development. Experiment with different blink intervals, explore other GPIO pins, and let your creativity soar with this powerful microcontroller!
Happy tinkering with your ESP32!
Explore these related topics for more information